Make Your Own Woodland Paper Lantern
A step-by-step guide to recreating our Christmas window decorations at home.
Swinging through our Christmas photoshoot in Tehidy Woods and brightening our shop windows this winter is an array of beautiful lanterns made by our talented windows team.
Here’s how you can create your own.
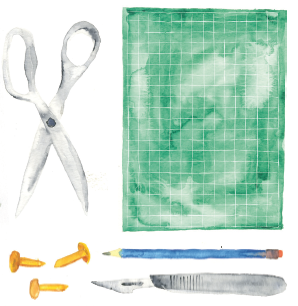
YOU WILL NEED
Cream card:
For the outer 16cm x 22.5cm
For the inner 12cm x 22.5cm
For the handle 1cm x 22.5cm
Scissors
Scalpel or craft knife
Cutting board
Pencil and ruler
Paper fasteners or split pins
1. To make the lantern’s outer layer take your largest piece of card and along the longest sides mark out a 1.25cm line in from the top and bottom edge.


2. Mark out and then cut vertical lines 1cm apart between these two borders to create the slashed shell of the lantern.


3. Make six small holes: one in each corner, and one in the middle of the top and bottom border. As a guide we’d suggest at 1cm, 11cm and 21.5cm but the main thing is to make sure these all line up both top and bottom.


4. Turn your slashed card over so any pencil lines are on the back. Lightly score a line along the borders at the top and bottom edges of the lines of slits and then make a fold along these borders.


5. To make the lantern’s inner take your second piece of card and make eight small holes: one in each corner and one in the middle of each side, making sure these line up with your holes on the outer layer.

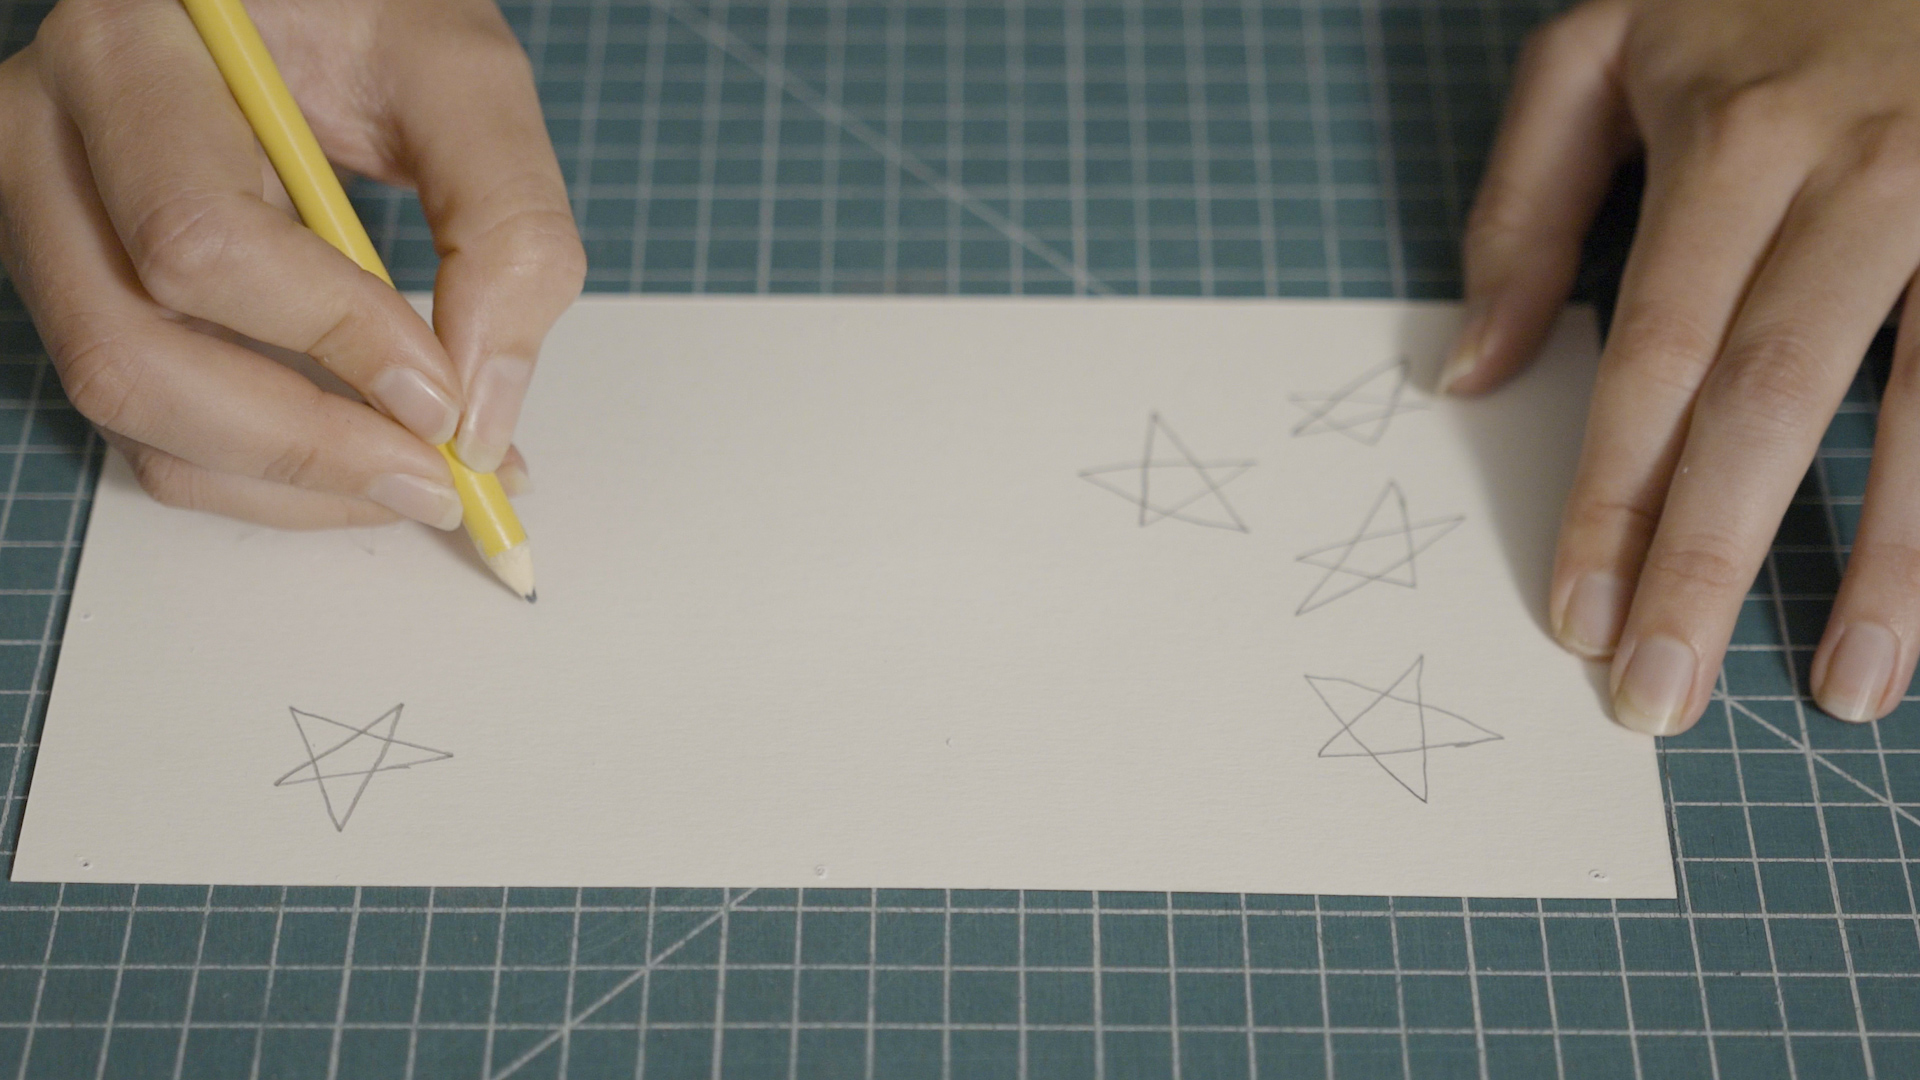
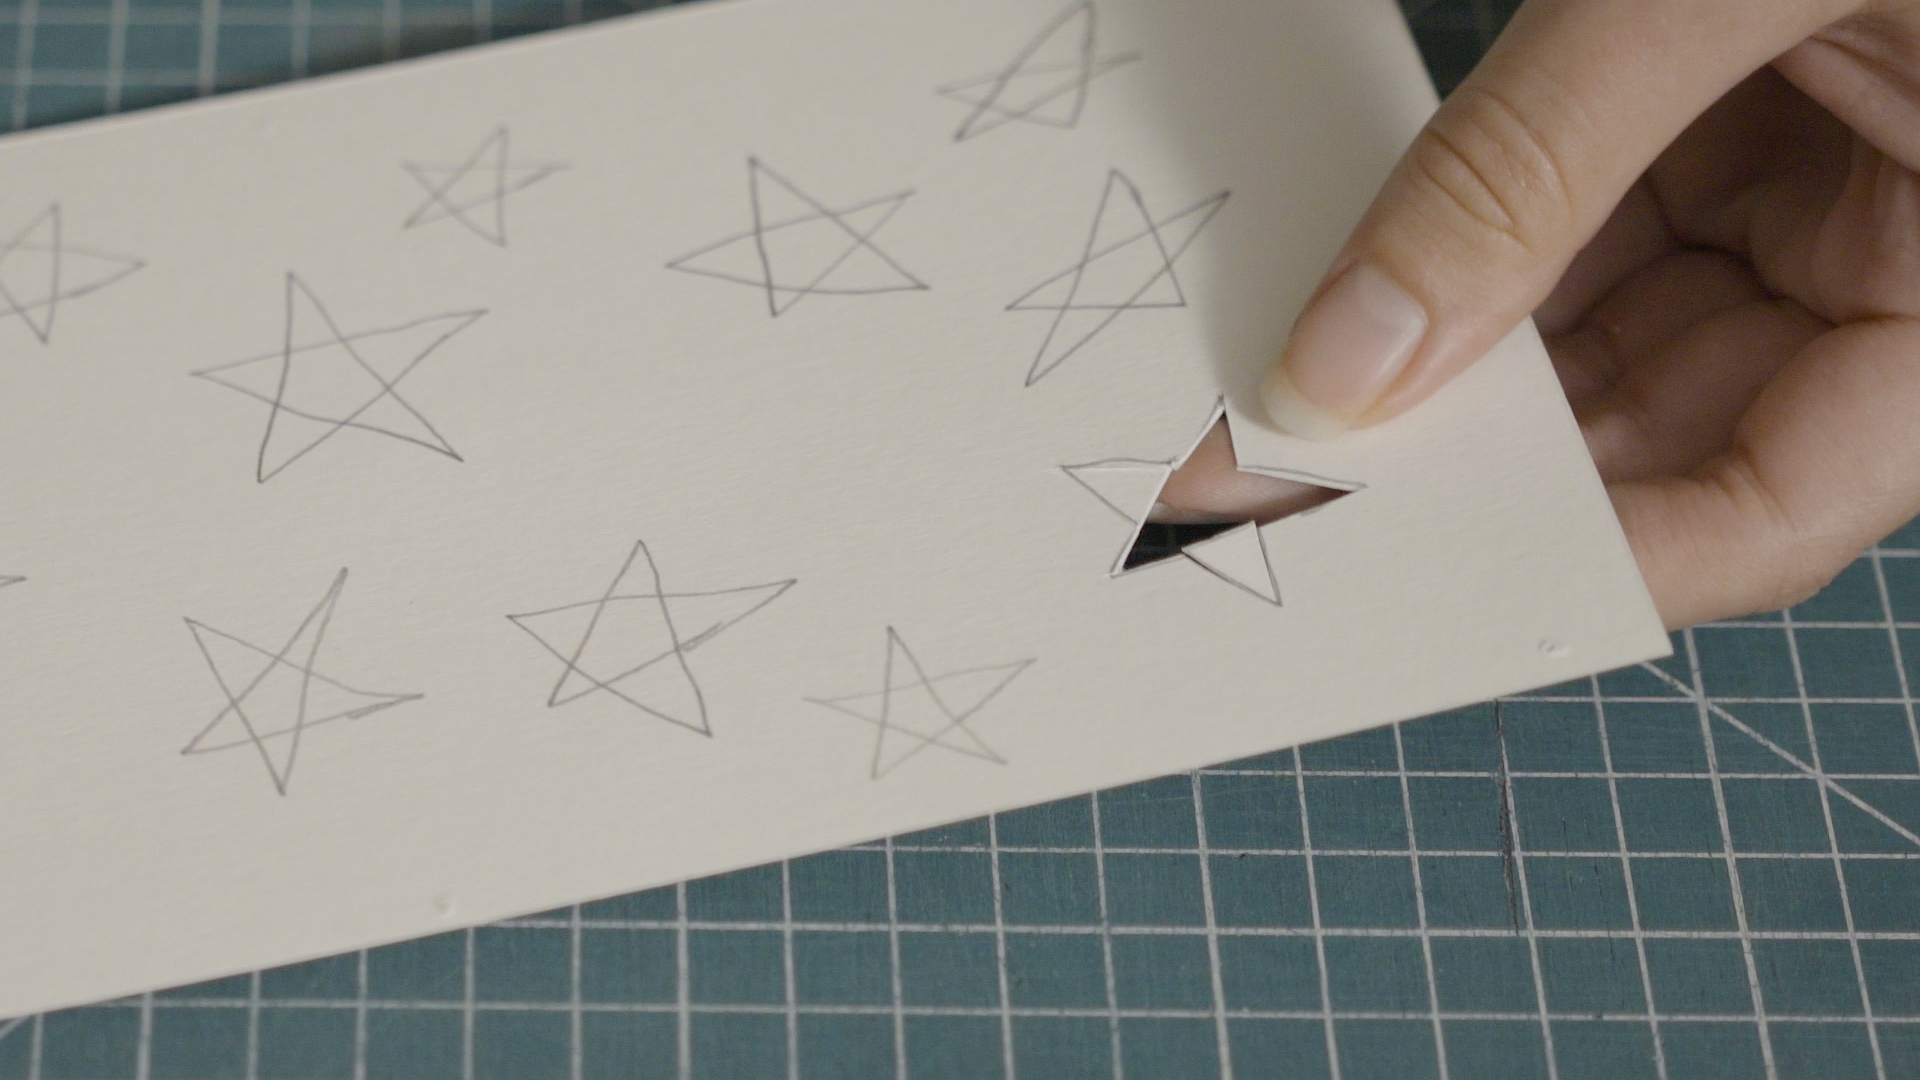
6. Cut out shapes from the middle of the card. We used different sized stars but you can get creative and cut any design you like.

7. Take your strip of card for the handle and make a hole in each end.
8. Take the inner layer and curl into a tube, making sure the side with any pencil lines is on the inside. Use a paper fastener to secure the middle holes of the side seams.


9. Take your outer layer and curl around your inner tube. Use a paper fastener to join the bottom holes of the outer layer to the bottom holes of the inner layer on both sides of the lower border.


10. To create the bulbous shape of the outer lantern, push down your outer layer so that the top border is level with the top of the inner tube. Put a paper fastener through both layers on each top side to keep everything in place but don’t fasten yet.


11. Place your handle strip on the inside and secure the paper fasteners. You can always secure the layers of your lantern with double-sided tape in addition to, or instead of paper fasteners.


Get creative…
Try scaling up or down to make different sized lanterns, cutting different shapes or patterns into the inner tube or even make some mini versions to hang on your Christmas tree!
Don’t forget to share what you make #SeasaltArtsClub
